Best Render Mix Ratios (UK) + Step-by-Step Rendering Guide
Everything you need to choose the right sand-cement-lime ratios, prepare the wall, and apply scratch and top coats for a durable, weather-resistant finish.
Introduction: why render mix ratios matter
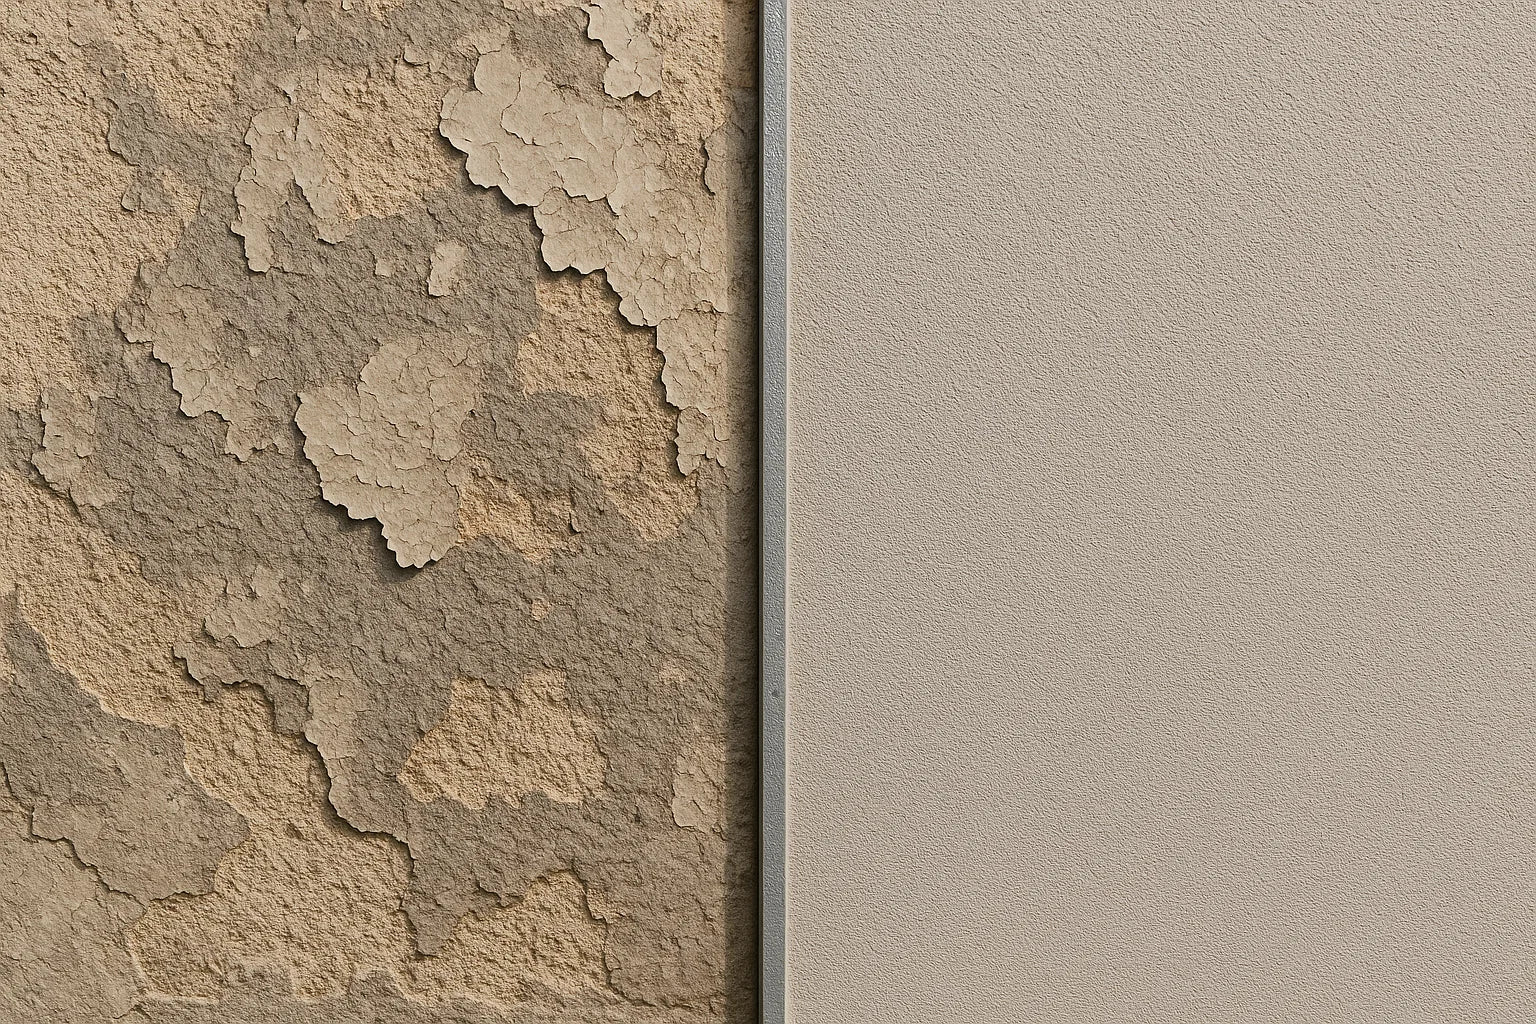
Rendering is the process of applying a sand-cement mortar (often with lime) to an exterior wall. Done well, it shields the masonry from UK rain and frost and gives either a smooth or textured finish. The render mix ratio—the proportion of sand, cement, and lime—controls strength, flexibility and adhesion. Too strong (excess cement) and the coat can crack or de-bond; too weak and it will powder or erode. This guide explains the right ratios for scratch and top coats, how to prepare and apply them, and how to avoid the mistakes that shorten a render’s life.
Recommended render mix ratios (UK)
Each coat serves a different job. The base (scratch) coat provides adhesion and a key; the top (finish) coat adds weathering and the final texture. As a rule, each successive coat should be slightly weaker and more flexible than the one beneath.
| Coat | Typical Ratio (Sand:Cement[:Lime]) | Thickness | When to use | Additives (optional) |
|---|---|---|---|---|
| Scratch (base) | 4:1 or 5:1 • with lime: 4:1:1 or 5:1:1 | 8–10 mm | First coat onto brick/block; provides key | Waterproofer (half dose); SBR slurry primer on smooth/low-suction substrates |
| Top (finish) | 5:1 or 6:1 • with lime: 5:1:1 or 6:1:1 | 5–7 mm | Second coat; slightly weaker for flexibility | Waterproofer (full dose) if specified; plasticiser if no lime |
| Lime-rich for older soft brick | 6:1:1 (flexible, more breathable) | As above | Period/porous masonry needing breathability | — |
For smooth, low-suction or previously painted masonry (after thorough removal of weak paint), brush-apply a slurry made from 1 part SBR bonding agent : 1 part cement (by volume). Thin with a little water to a brushable cream. Apply the scratch coat while the slurry is still tacky (wet-on-tacky). Do not use PVA externally.
Sand & lime choices
Use clean, washed plastering sand (consistent grading). Hydrated lime improves workability (“buttery” feel), reduces shrinkage and helps accommodate minor movement. If you omit lime, include a liquid plasticiser per the label.
How to render a wall (step-by-step)
Step 1: Surface preparation
Remove loose material, dust and any friable paint; rake out cracks and repair defects. Hose or mist the wall so it’s slightly damp (not dripping) about 20–30 minutes before you start. Fit angle beads to external corners and stop beads at terminations. On slick or low-suction surfaces, use the SBR slurry noted above.
Step 2: Mixing the render
Measure by volume (consistent buckets). Dry-blend sand, cement and lime first. Add water gradually to a soft peanut-butter consistency—firm, cohesive, spreadable. If no lime, add plasticiser. If using a waterproofer, dose as per label (commonly half dose in scratch, full dose in top). Mix ~5 minutes, rest 5 minutes, remix briefly.
A 10 mm scratch + 6 mm top over 10 m² is ~0.16 m³ of mortar. With a 5:1 sand:cement ratio, expect roughly 250–300 kg of sand and 50–60 kg of cement total (check your sand bulk density). Always mix in manageable batches to maintain workability.
Step 3: Apply the scratch coat
Using hawk and trowel, apply 8–10 mm. Rule off with a straightedge/darby. While green but firm, score horizontal lines with a scarifier to create an even key (avoid cutting right through). Protect from rapid drying; mist lightly as needed. Typical wait: ~24 hours at mild temperatures—longer in cold weather.

Step 4: Apply the top coat
Lightly dampen the scratch coat. Apply 5–7 mm of the slightly weaker mix. Rule off to plane. Float to the desired finish (wood float for traditional; sponge float for a fine, open texture). Protect from sun, wind, frost and rain during early cure.

Step 5: Curing & aftercare
- Maintain temperature above 5°C (and rising) during application and early cure.
- Mist daily for 2–3 days in warm, drying conditions.
- Fill minor hairlines only once fully cured; investigate wider cracking (substrate movement/mix too strong).

Common mistakes and how to avoid them
Poor prep: Dirt, dust and chalky paint kill adhesion. Clean, repair, dampen. Use SBR slurry on smooth/low-suction backgrounds.
Wrong ratios: Over-cemented mixes shrink and crack; under-cemented mixes powder. Stick to the table above.
Bad weather timing: Don’t render in rain/frost or strong drying winds; shield and control suction.
Too thick in one pass: Keep coats to ≤10 mm; build up with additional coats if needed.
No key/reinforcement: Scratch evenly. Use alkali-resistant mesh over stress points (lintels, dissimilar materials).
Painting too soon: Traps moisture—wait 4–6 weeks and use vapour-permeable coatings on traditional builds.
Recommended tools and materials
Biokil Crown SBR Bonding Agent
Use to make an SBR-cement slurry for difficult backgrounds and to improve adhesion and flexibility in sand-cement mixes.
Materials
- Plastering sand (washed, graded)
- Ordinary Portland cement (OPC)
- Hydrated lime (optional, recommended for workability)
- Liquid plasticiser (if not using lime)
- Render waterproofer (optional per system)
- SBR bonding agent (for slurry/priming)
- Angle/stop beads; alkali-resistant mesh for stress areas
Tools
- Mixing buckets or pan mixer; paddle for drill
- Hawk, trowels, straightedge/darby, spirit level
- Wood and sponge floats; scratching comb (scarifier)
- Brushes, spray/misting bottle or hose with fine rose
- PPE: gloves, goggles, dust mask/respirator
- Ladders or scaffolding (secure footing; follow safety guidance)
FAQs
Can I render in winter? Avoid when temperatures are below 5°C or frost is forecast. Cold, damp conditions slow or disrupt cement hydration and can cause failure. Use weather protection and wait for a suitable window.
Do I need lime in my render mix? Not essential, but lime significantly improves workability, reduces shrinkage and helps accommodate minor movement—especially useful on older, softer bricks. If skipping lime, add a plasticiser.
Should I PVA the wall? No. PVA is water-sensitive and unsuitable externally. Use clean water to control suction, or an SBR-cement slurry for tricky backgrounds.
With the right ratios, prep and curing, even first-time DIYers can achieve a finish that lasts for decades.