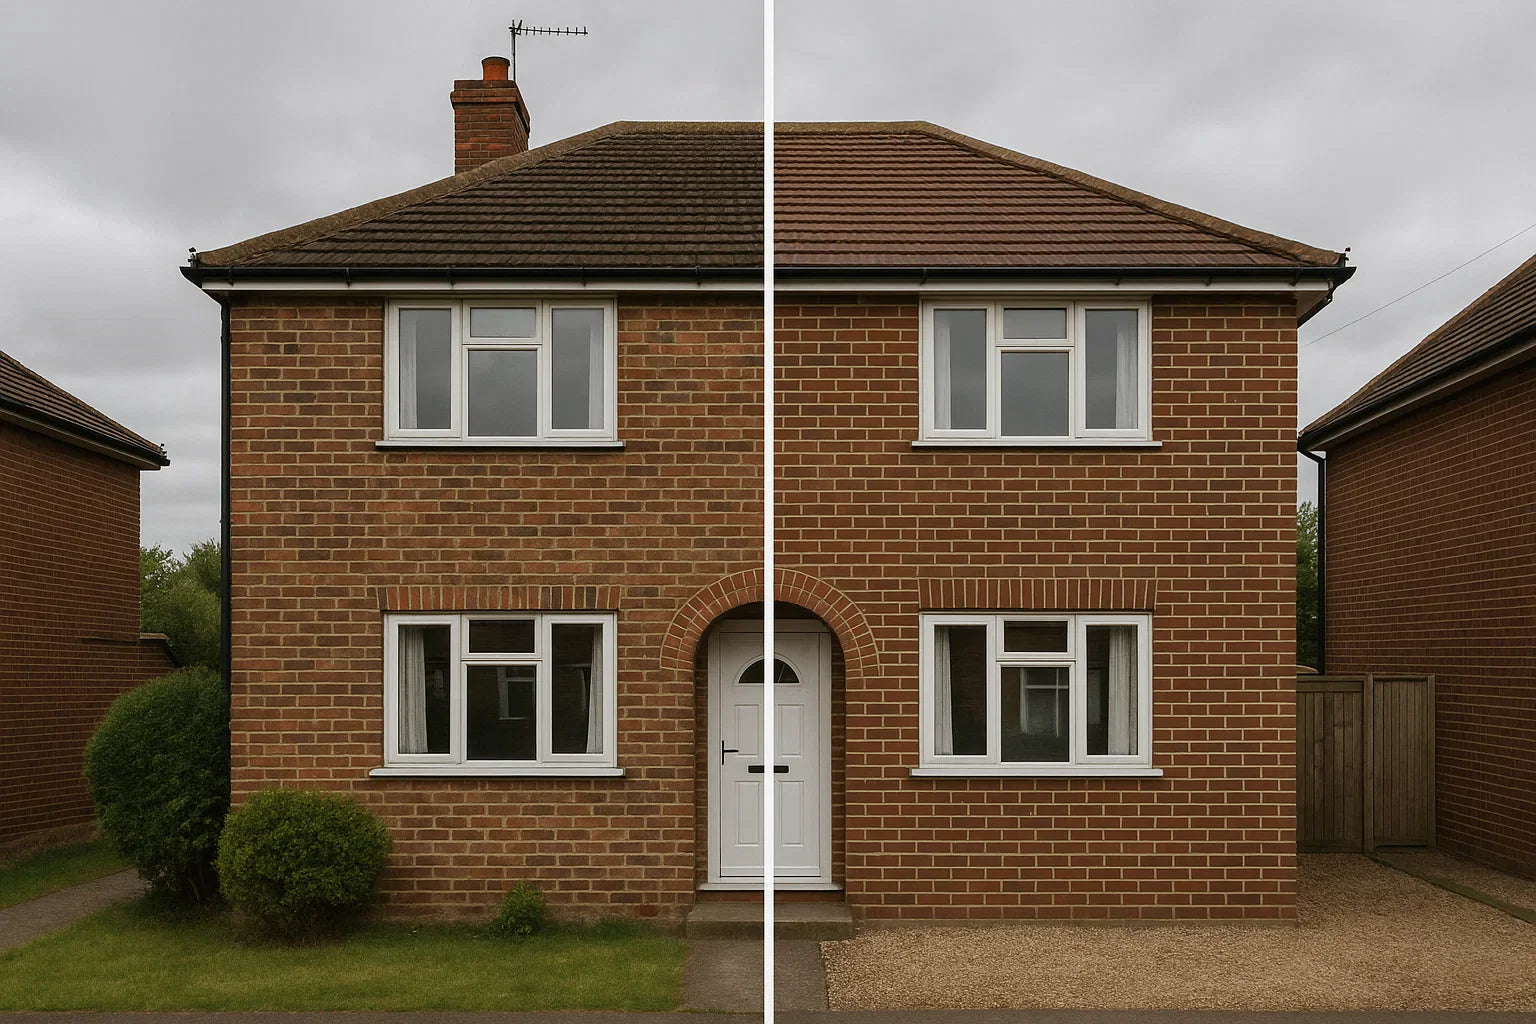
Cracked or crumbling mortar joints are a silent threat to your home. They let in water, weaken the structure of your walls, and accelerate frost damage — especially in older brickwork common across the UK. Repointing isn’t just cosmetic; it’s a vital line of defence against damp and decay.
Whether you’re restoring a Victorian terrace or maintaining a post-war semi, this guide will walk you through how to repair and repoint mortar joints properly — with clear steps, tool advice, and expert tips tailored to UK homes and weather conditions.
Why Mortar Fails – And Why Repointing Matters
Mortar is the 'glue' that holds bricks together, but it’s designed to be slightly softer than the bricks. This flexibility allows it to absorb movement and weathering. Over time, though, exposure to rain, frost, wind, and pollution causes it to erode.
Signs Your Mortar Needs Attention:
- Cracks or gaps between bricks
- Crumbling mortar
- White powdery deposits (efflorescence)
- Damp patches on internal walls
- Flaking or damaged brick faces (spalling)

Ignoring these signs can lead to major problems like penetrating damp or even structural instability. Repointing helps stop water ingress, improves thermal efficiency, and preserves your home’s character.
Understanding Mortar Types in UK Properties
Before you begin repointing, identify the type of mortar used in your property:
- Pre-1930s homes: Often built with lime mortar, which is breathable, flexible, and ideal for older bricks.
- Modern homes (post-1930s): Use cement-based mortar, which is harder and more rigid.
Quick Mortar Test:
- Lime mortar feels soft and powdery.
- Cement mortar is firm, grainy, and more brittle.
If you’re unsure, opt for a lime-based mortar, especially on heritage properties. It’s more compatible with soft bricks and less likely to cause damage.
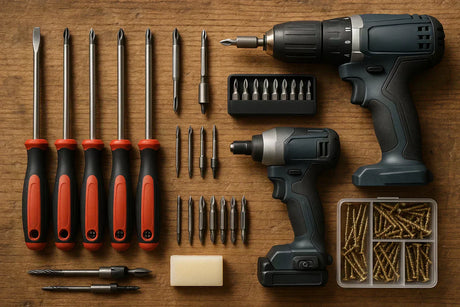
Tools & Materials You’ll Need
| Tool / Material | Purpose |
|---|---|
| Plugging chisel | Manually remove old mortar |
| Cold chisel & club hammer | Loosen stubborn mortar |
| Mortar rake (optional) | Drill attachment for faster removal (modern brick only) |
| Wire brush | Clean joints of dust/debris |
| Spray bottle / hose | Dampen joints before repointing |
| Pointing trowel | Apply new mortar |
| Jointing tool / hosepipe | Shape and finish mortar joint |
| Bucket / hawk | Mix/carry mortar |
| Mortar mix | Lime or sand-cement, depending on wall |
| Safety gear | Gloves, goggles, dust mask |
| Hessian or sheeting | Protect wall during curing |
Step-by-Step: How to Repoint Mortar Joints
1. Remove the Old Mortar
Use a plugging chisel and hammer to rake out 15–20mm of old mortar. For modern, hard mortar, a mortar rake drill attachment can help — but avoid using this on soft, traditional brickwork.

2. Clean the Joints
Brush out debris with a wire brush. On warm days, dampen the joints before applying new mortar. This prevents the bricks from pulling moisture out of the mix too quickly.
Safety Tip: Wear gloves, goggles, and a dust mask when removing old mortar.

3. Mix Your Mortar
- Modern bricks: 4 parts sharp sand : 1 part cement
- Older bricks: 3 parts sharp sand : 1 part hydrated lime
Add water gradually until the mix is firm but workable. Avoid overly wet or dry mortar.

4. Apply New Mortar
Start with horizontal (bed) joints, packing mortar in firmly with a pointing trowel. Then move to the vertical (perp) joints, using a narrower tool if needed.

5. Shape the Joints
Once the mortar starts to stiffen (after 30–45 minutes), use a jointing tool or hosepipe to shape the finish to match existing joints: flush, concave, or weather-struck.

6. Clean Off Excess
After shaping, allow mortar to set slightly, then gently brush off loose material. Avoid brushing too soon to prevent smearing.

Curing and Weather Protection
Fresh mortar must cure slowly to gain strength. Cover with hessian or breathable sheeting in hot or windy weather. Avoid repointing in wet or freezing conditions.
Recommended curing time: 48–72 hours. Wait 7–10 days before applying sealants.
When to Call a Professional
- High or hard-to-reach walls
- Listed or conservation buildings
- Large-scale damage or deep cracking
For small garden walls or patch repairs, confident DIYers can often complete the work themselves.
Seal with Masonry Protection Cream
Once the mortar has cured and the wall is dry, apply masonry protection cream to prevent future damp. It penetrates deeply and creates an invisible, breathable shield that lasts up to 25 years.
Useful Relevant Guides
Read our full guide to applying masonry cream
Read our full guide to applying masonry care
Final Thoughts
Repointing brickwork is a smart investment in your home’s structural integrity and weather resistance. Use the right mix, follow good technique, and allow time for curing — and you’ll enjoy a stronger, more durable wall for years to come.
DIY Refurb Recommendations:
- Lime Mortar Mix – Pre-Blended for Heritage Repairs
- Masonry Protection Cream – Breathable Weather Barrier
- Pointing Trowel – Ideal for Small Joints
Frequently Asked Questions
-
How do I know if my mortar joints need repointing?
Look for cracks, gaps, loose or powdery mortar, white staining (efflorescence), or damp inside your home. These are all signs the mortar is failing and repointing is needed.
-
Can I repoint a wall myself?
Yes, if the wall is accessible and in generally good condition, repointing is a suitable DIY job. For high walls, heritage properties, or large damage areas, call a professional.
-
What is the best time of year to repoint brickwork in the UK?
Between late spring and early autumn is best. Avoid cold, rainy, or overly hot days — ideal temperatures are between 5°C and 25°C.
-
How deep should I rake out the old mortar?
Remove at least 15–20mm of mortar for a proper bond. Be careful not to damage the bricks or go too deep.
-
Can I use cement mortar on an old (pre-1930s) wall?
It’s better to use lime mortar on older walls. Cement is too hard and can trap moisture, leading to brick damage.
-
What’s the difference between flush, concave, and weather-struck joints?
Flush: Level with the brick face. Concave (bucket handle): Rounded inward for a clean, durable look. Weather-struck: Angled to shed water. Match the style already on your wall.
-
How long does repointing take to cure?
Initial cure takes 48–72 hours. Wait 7–10 days before applying any protective coatings or masonry creams.
-
Can I repoint in wet or frosty weather?
No. Mortar won’t cure properly in frost or rain. Choose a mild, dry day and cover the work during curing if needed.
-
What tools do I need to repoint brickwork?
At minimum: plugging chisel, pointing trowel, wire brush, hawk or bucket, jointing tool, spray bottle, mortar mix, gloves, and goggles.
-
Should I wet the bricks before applying new mortar?
Yes. Dampen the joints slightly so the bricks don’t absorb water from your fresh mortar too quickly.
-
How long will my repointing last?
Quality repointing can last 20–50 years depending on exposure, materials, and how well it was done.
-
Do I need to seal the wall after repointing?
It’s optional but recommended. A breathable masonry protection cream helps block water and extend the life of your work. Just wait until the mortar is fully cured.